FermTank Chilling Kits
Assembling your chiller kit and running your chiller

Jeff Hintt
Last Update il y a 5 ans
WHAT'S IN THE BOX!?
If you have ordered just the chilling kit you will have received:
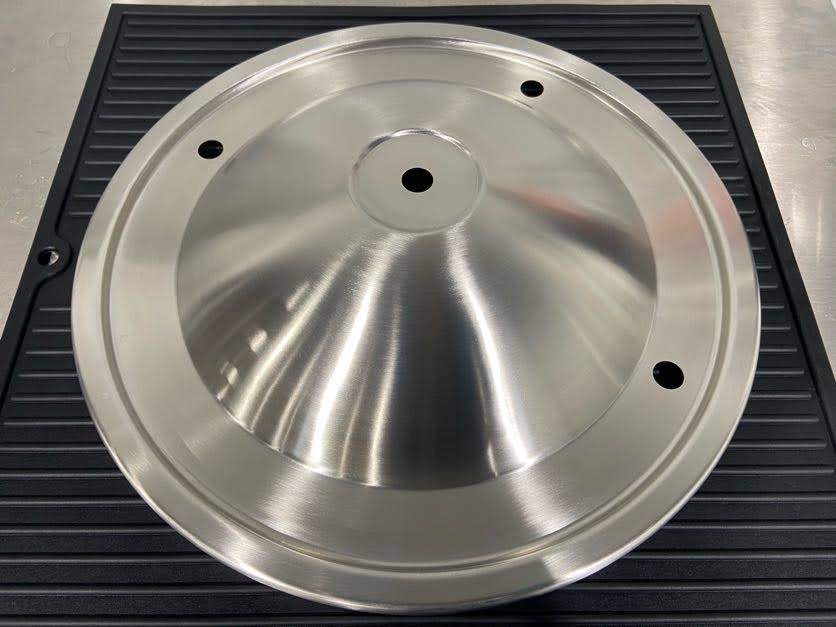
- Stainless Steel Domed Chilling Lid
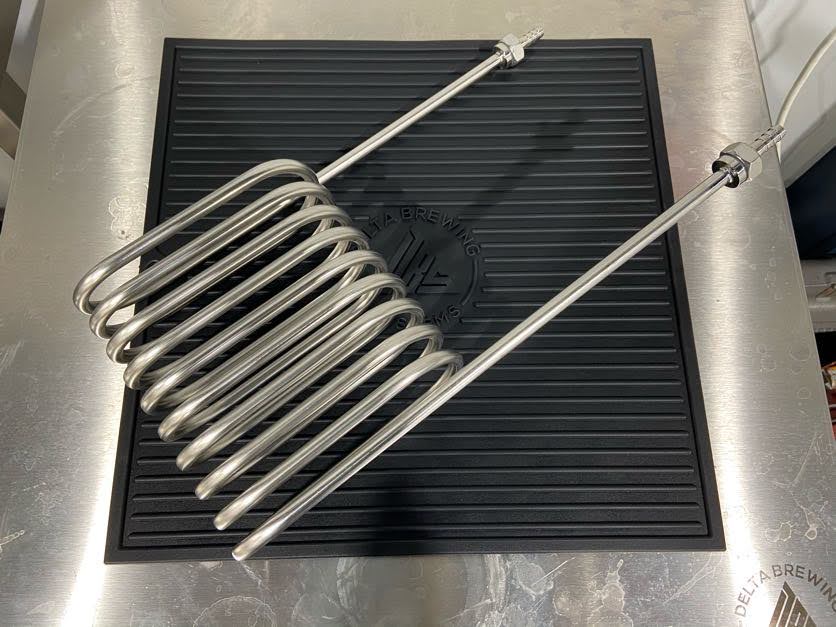
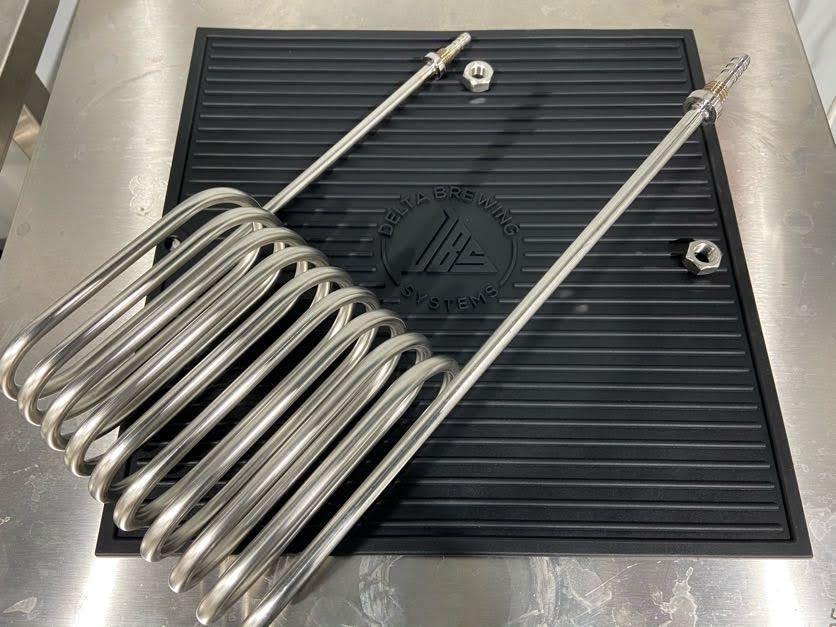
- Stainless Steel Chilling Coil
- Stainless Thermowell for the lid
- Small bag of extra gaskets
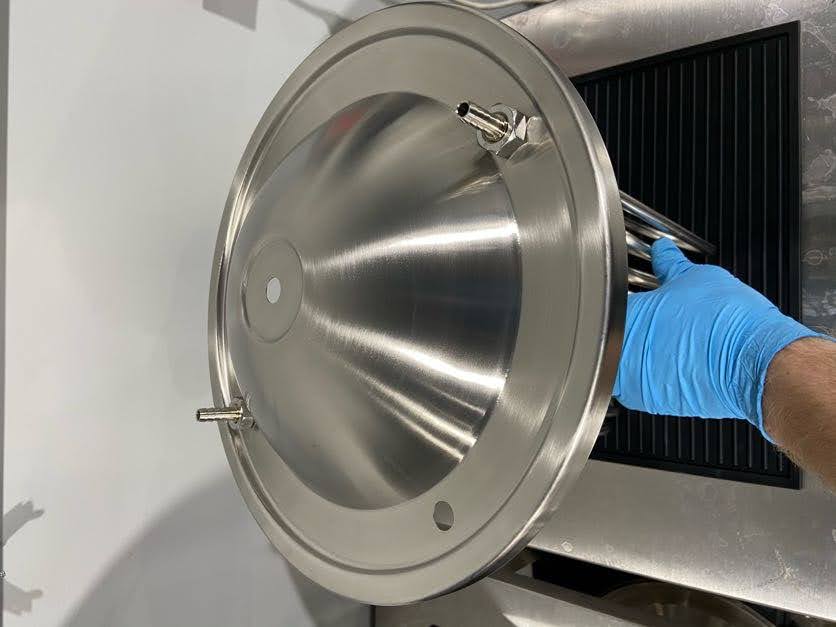
ASSEMBLY OF THE CHILLER LID
Your new lid will have an extra pair of holes to accommodate the new chilling coil portion.
Remove the two nuts from the barbed fittings and insert those fittings through the two new holes, make sure the gaskets are between the barbed fitting and the bottom of your lid.
You will fasten the two nuts to the threaded portion of the barbed fittings from the top side of the lid.
You'll want these nuts tight enough to be secure and keep your gas in, but you don't want to crush the gaskets.
(If the coil seems too small it may have been compressed in shipping. Grip it firmly and stretch it out a little. It can handle it.)
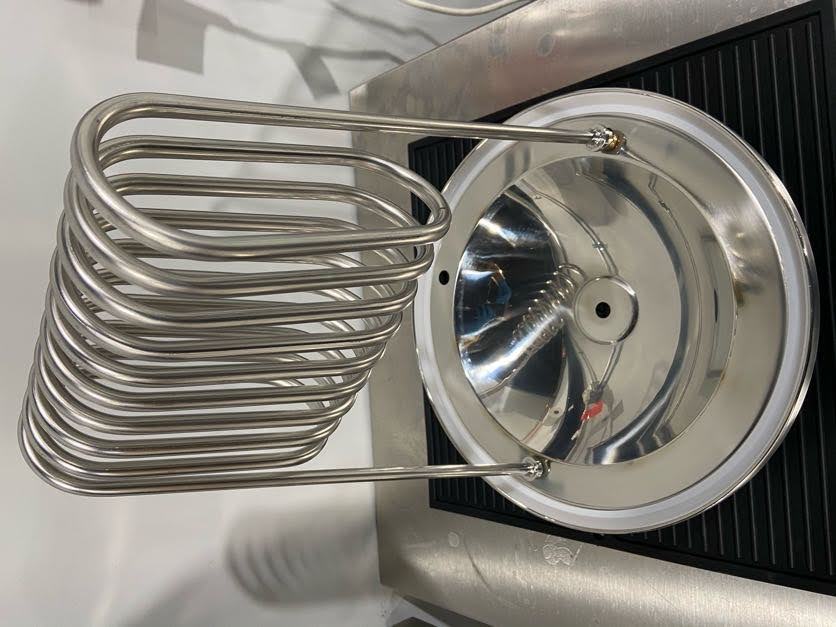
We're going to assume you have just the fermenter and chilling kit.
At this point you would run your blow off barbed fitting in the center hole and Stainless Plug or Air Lock in the side hole.
Running Your Chilled Liquid
If you've made sure that your unit has no leaks, go ahead and connect some hoses for running chilled liquid and connect them according to your pump.
The liquid can be run either way through the coil, just make sure to have one line going in and one line coming out to create a loop from the chilled liquid to your coil and back to the reservoir.